我们将采用官方推荐的Electron Forge创建应用程序
Electron Forge 是一套集成的工具,用于打包和分发 Electron 应用程序。它合并了许多单用途包,形成一个完整的构建流程,从安装开始即可使用,包含代码签名、安装程序以及工件发布功能。对于更高级的工作流程,可以通过 Forge 的生命周期中的插件 API添加自定义构建逻辑。定制构建和存储目标则可以通过创建自己的 Makers 和 Publishers 来实现。
npx create-electron-app@latest my-app所有选项都使用默认
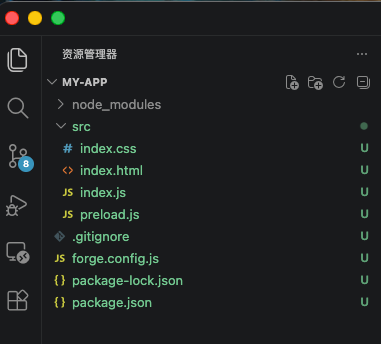
打开项目,目录结构如下,可以进行 init commit
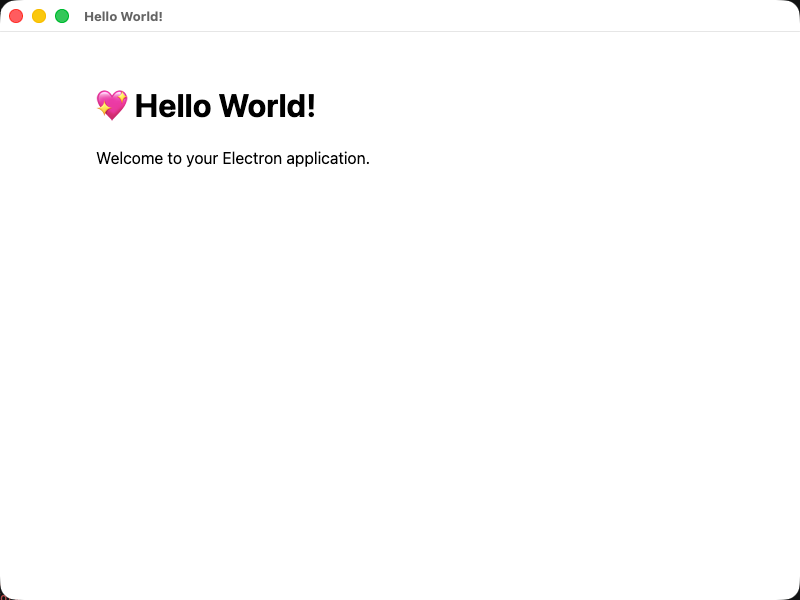
npm start 运行项目, 正常可以看到
执行命令
npm i nodeplayer-addonconst { app, BrowserWindow, ipcMain } = require('electron');
const path = require('node:path');
const NodePlayerAddon = require('nodeplayer-addon'); //导入播放器扩展
// Handle creating/removing shortcuts on Windows when installing/uninstalling.
if (require('electron-squirrel-startup')) {
app.quit();
}
const createWindow = () => {
// Create the browser window.
const mainWindow = new BrowserWindow({
width: 800,
height: 600,
webPreferences: {
preload: path.join(__dirname, 'preload.js'),
},
});
// and load the index.html of the app.
mainWindow.loadFile(path.join(__dirname, 'index.html'));
// Open the DevTools.
// mainWindow.webContents.openDevTools();
mainWindow.on('closed', () => {
NodePlayerAddon.unregisterIpc(ipcMain)
});
NodePlayerAddon.registerIpc(ipcMain, {
getWindow: () => mainWindow,
licensePath: app.isPackaged
? path.join(process.resourcesPath, 'license.dat')
: path.join(__dirname, 'license.dat'),
});
};
// This method will be called when Electron has finished
// initialization and is ready to create browser windows.
// Some APIs can only be used after this event occurs.
app.whenReady().then(() => {
createWindow();
// On OS X it's common to re-create a window in the app when the
// dock icon is clicked and there are no other windows open.
app.on('activate', () => {
if (BrowserWindow.getAllWindows().length === 0) {
createWindow();
}
});
});
// Quit when all windows are closed, except on macOS. There, it's common
// for applications and their menu bar to stay active until the user quits
// explicitly with Cmd + Q.
app.on('window-all-closed', () => {
if (process.platform !== 'darwin') {
app.quit();
}
});
// In this file you can include the rest of your app's specific main process
// code. You can also put them in separate files and import them here.const { contextBridge, ipcRenderer } = require('electron')
contextBridge.exposeInMainWorld('electronAPI', {
createPlayer: (id) => ipcRenderer.invoke('player:create', id),
startPlayer: (id, url) => ipcRenderer.invoke('player:start', id, url),
stopPlayer: (id) => ipcRenderer.invoke('player:stop', id),
destroyPlayer: (id) => ipcRenderer.invoke('player:destroy', id),
startRecord: (id, filePath) => ipcRenderer.invoke('player:startRecord', id, filePath),
stopRecord: (id) => ipcRenderer.invoke('player:stopRecord', id),
// 截图:将渲染进程生成的 JPG base64 数据保存到指定路径(默认由主进程自动生成)
saveScreenshot: (id, outputPath, base64Data) => ipcRenderer.invoke('player:saveScreenshot', id, outputPath, base64Data),
// 预探测:在创建播放器前分析 URL(连接性 / 编码 / 分辨率 / 首帧截图)
getMediaInfo: (url) => ipcRenderer.invoke('player:getMediaInfo', url),
onEvent: (id, callback) => {
const channel = `player:event:${id}`
const handler = (event, data) => callback(data)
ipcRenderer.on(channel, handler)
return () => ipcRenderer.removeListener(channel, handler)
},
onInfo: (id, callback) => {
const channel = `player:info:${id}`
const handler = (event, info) => callback(info)
ipcRenderer.on(channel, handler)
return () => ipcRenderer.removeListener(channel, handler)
},
onData: (id, callback) => {
const channel = `player:data:${id}`
const handler = (event, data) => callback(data)
ipcRenderer.on(channel, handler)
return () => ipcRenderer.removeListener(channel, handler)
},
})<!DOCTYPE html>
<html>
<head>
<meta charset="UTF-8">
<title>NodePlayer Demo</title>
<style>
body { margin: 0; background: #000; display: flex; justify-content: center; align-items: center; height: 100vh; }
video { width: 100%; max-width: 960px; background: #000; }
.controls { position: fixed; bottom: 20px; display: flex; gap: 10px; }
.controls input { width: 400px; padding: 6px; }
.controls button { padding: 6px 16px; cursor: pointer; }
.status { position: fixed; top: 10px; left: 10px; color: #0f0; font-family: monospace; font-size: 14px; }
</style>
</head>
<body>
<div class="status" id="status"></div>
<video id="video" autoplay muted playsinline></video>
<div class="controls">
<input id="url" type="text" placeholder="rtsp://..." value="rtsp://">
<button id="btn-start">播放</button>
<button id="btn-stop">停止</button>
<button id="btn-record">录像</button>
<button id="btn-screenshot">截图</button>
</div>
<!-- 在 preload.js 中已通过 contextBridge 暴露 window.electronAPI -->
<script src="https://cdn.jsdelivr.net/npm/nodeplayer-addon/dist/NodePlayerView.js"></script>
<script>
const videoEl = document.getElementById('video')
const statusEl = document.getElementById('status')
const urlInput = document.getElementById('url')
const player = new NodePlayerView(videoEl, 'demo')
const EVENT_STATUS = {
1000: 'Connecting...', 1001: 'Connected', 1002: 'Connection failed',
1003: 'Reconnecting...', 1004: 'Disconnected', 1005: 'Network error',
1006: 'Connection timeout',
}
player.on('event', (code, msg) => {
if (code in EVENT_STATUS) statusEl.textContent = msg ? `${EVENT_STATUS[code]}: ${msg}` : EVENT_STATUS[code]
if (code === 3001) document.getElementById('btn-record').textContent = '停止录像'
if (code === 3002 || code === 3003) document.getElementById('btn-record').textContent = '录像'
})
player.on('error', (err) => { statusEl.textContent = 'Error: ' + err.message })
document.getElementById('btn-start').onclick = () => player.start(urlInput.value)
document.getElementById('btn-stop').onclick = () => player.stop()
document.getElementById('btn-record').onclick = () => {
player.isRecording ? player.stopRecord() : player.startRecord()
}
document.getElementById('btn-screenshot').onclick = async () => {
const r = await player.saveScreenshot()
if (r.success) statusEl.textContent = '截图已保存:' + r.path
}
</script>
</body>
</html>
如果离线部署,可以将 https://cdn.jsdelivr.net/npm/nodeplayer-addon/dist/NodePlayerView.js 下载到本地进行加载。
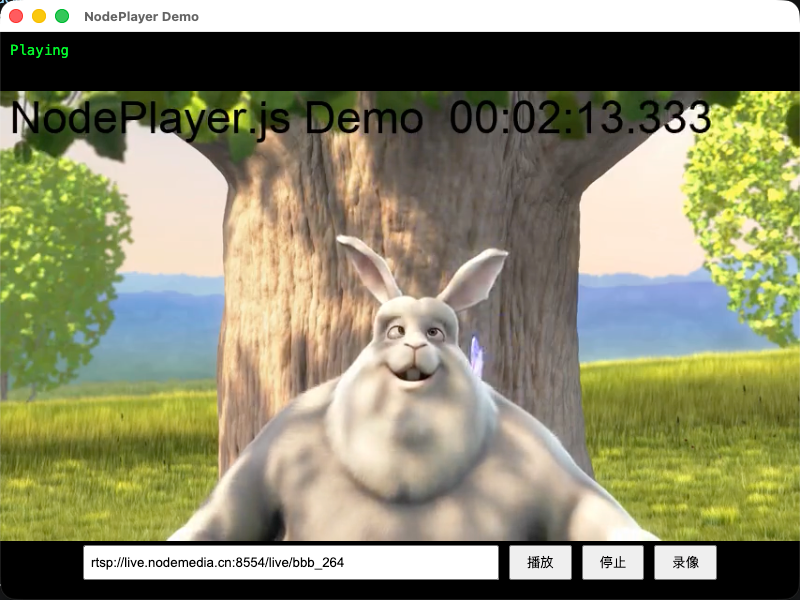
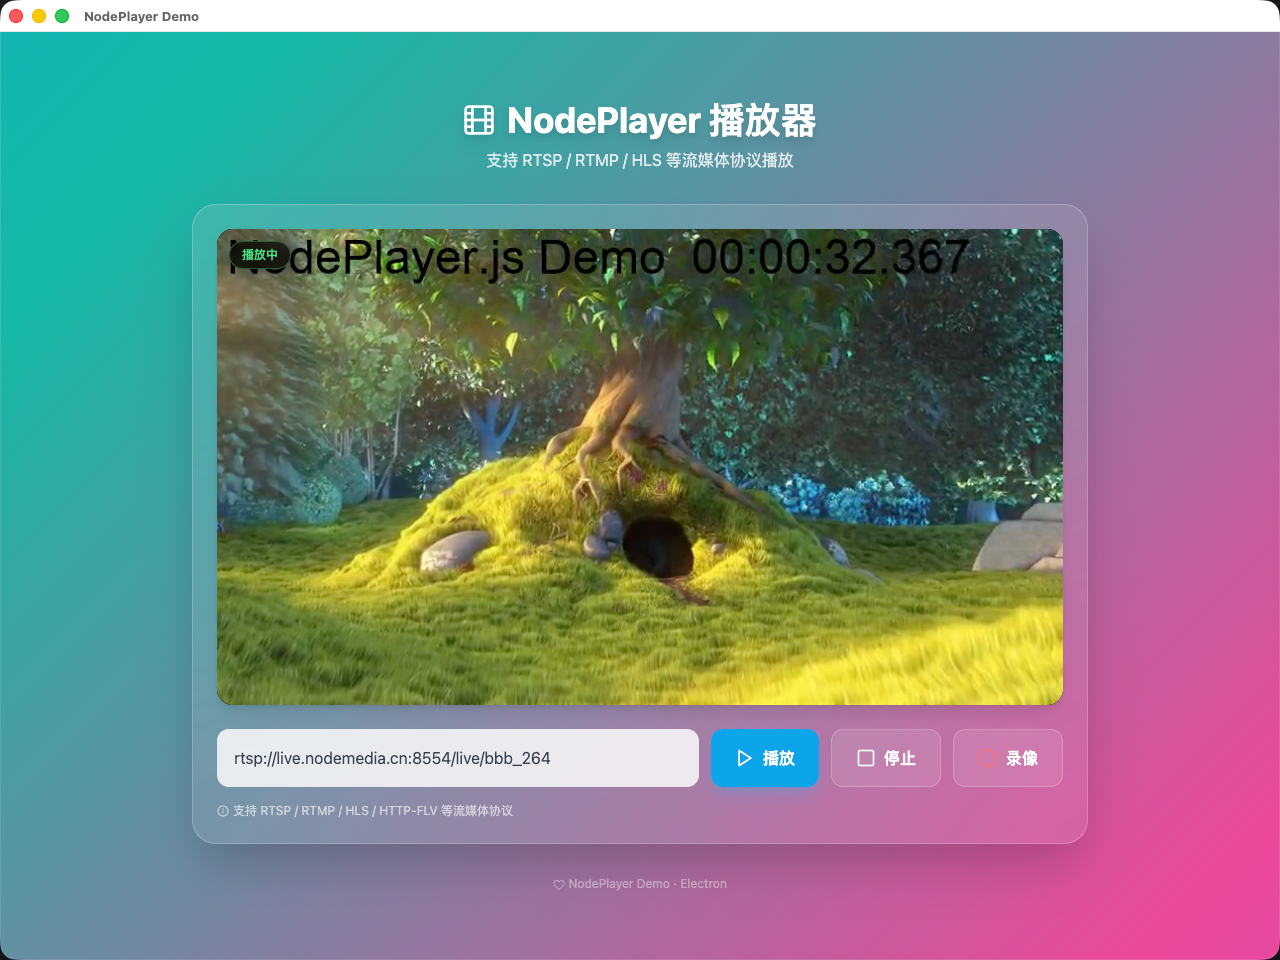
这样,一个基于NodePlayerAddon 开发的简单Electron播放例子就完成了。不依赖流媒体服务端,直连rtsp,rtmp播放。高性能,硬解码,低延迟。
上面的最小示例只演示了「播放 / 停止 / 录像 / 截图」。registerIpc 实际在主进程注册了更多能力,下面按需选用。
播放器通过 player.on('event', (code, msg) => {}) 推送事件,常用码如下:
| 范围 | code | 含义 |
|---|---|---|
| 连接 | 1000 | 正在连接 |
| 1001 | 已连接 | |
| 1002 | 连接失败 | |
| 1003 | 重连中 | |
| 1004 | 已断开 | |
| 1005 | 网络错误 | |
| 1006 | 连接超时 | |
| 录像 | 3001 | 录像开始 |
| 3002 | 录像停止 | |
| 3003 | 录像错误 |
流的编码、分辨率、采样率等参数通过
player.on('info', (info) => {})单独推送,不走event。
在加入播放列表前,可先探测地址是否可达、获取音视频参数并截取首帧预览图。
👉 完整 API、codec 参考表与示例:get-media-info.md
NodePlayerView 提供两种截图方式,均在流就绪后调用:
player.captureScreenshot(quality?)→ 返回data:image/jpeg;base64,...字符串(仅在内存中,不落盘)player.saveScreenshot(outputPath?, quality?)→ 通过 IPC 将 JPG 写入磁盘,返回{ success, path },路径省略时由主进程自动生成
// 直接预览(不落盘)
const dataUrl = player.captureScreenshot(0.9)
if (dataUrl) snapshotImg.src = dataUrl

// 保存到文件
const r = await player.saveScreenshot()
if (r.success) console.log('已保存:', r.path)- QQ: 281269007
- Email: service@nodemedia.cn